
Homeowner Education · Chicagoland, IL
How Much of My House Actually Needs Tuckpointing? Spot Repair vs. One Elevation vs. the Whole House
Two contractors look at the same Chicago brick house. One quotes a few hundred square feet of spot repointing. The other quotes the entire building. Both can be honest — they are answering different questions. Here is how to work out which answer is right for your house, and how to check a proposal against your own walls.
2026-08-30
Quick Answer
Most Chicagoland homes do not need whole-house tuckpointing. Mortar fails by exposure, so damage concentrates on the weather elevations, the chimney, the parapet and the courses near grade while protected walls stay sound for years longer. Paul Lally's Masonry Inc. scopes tuckpointing elevation by elevation and phases it by risk. Family-owned since 1988, insured. Free on-site estimates — call (708) 448-8866.
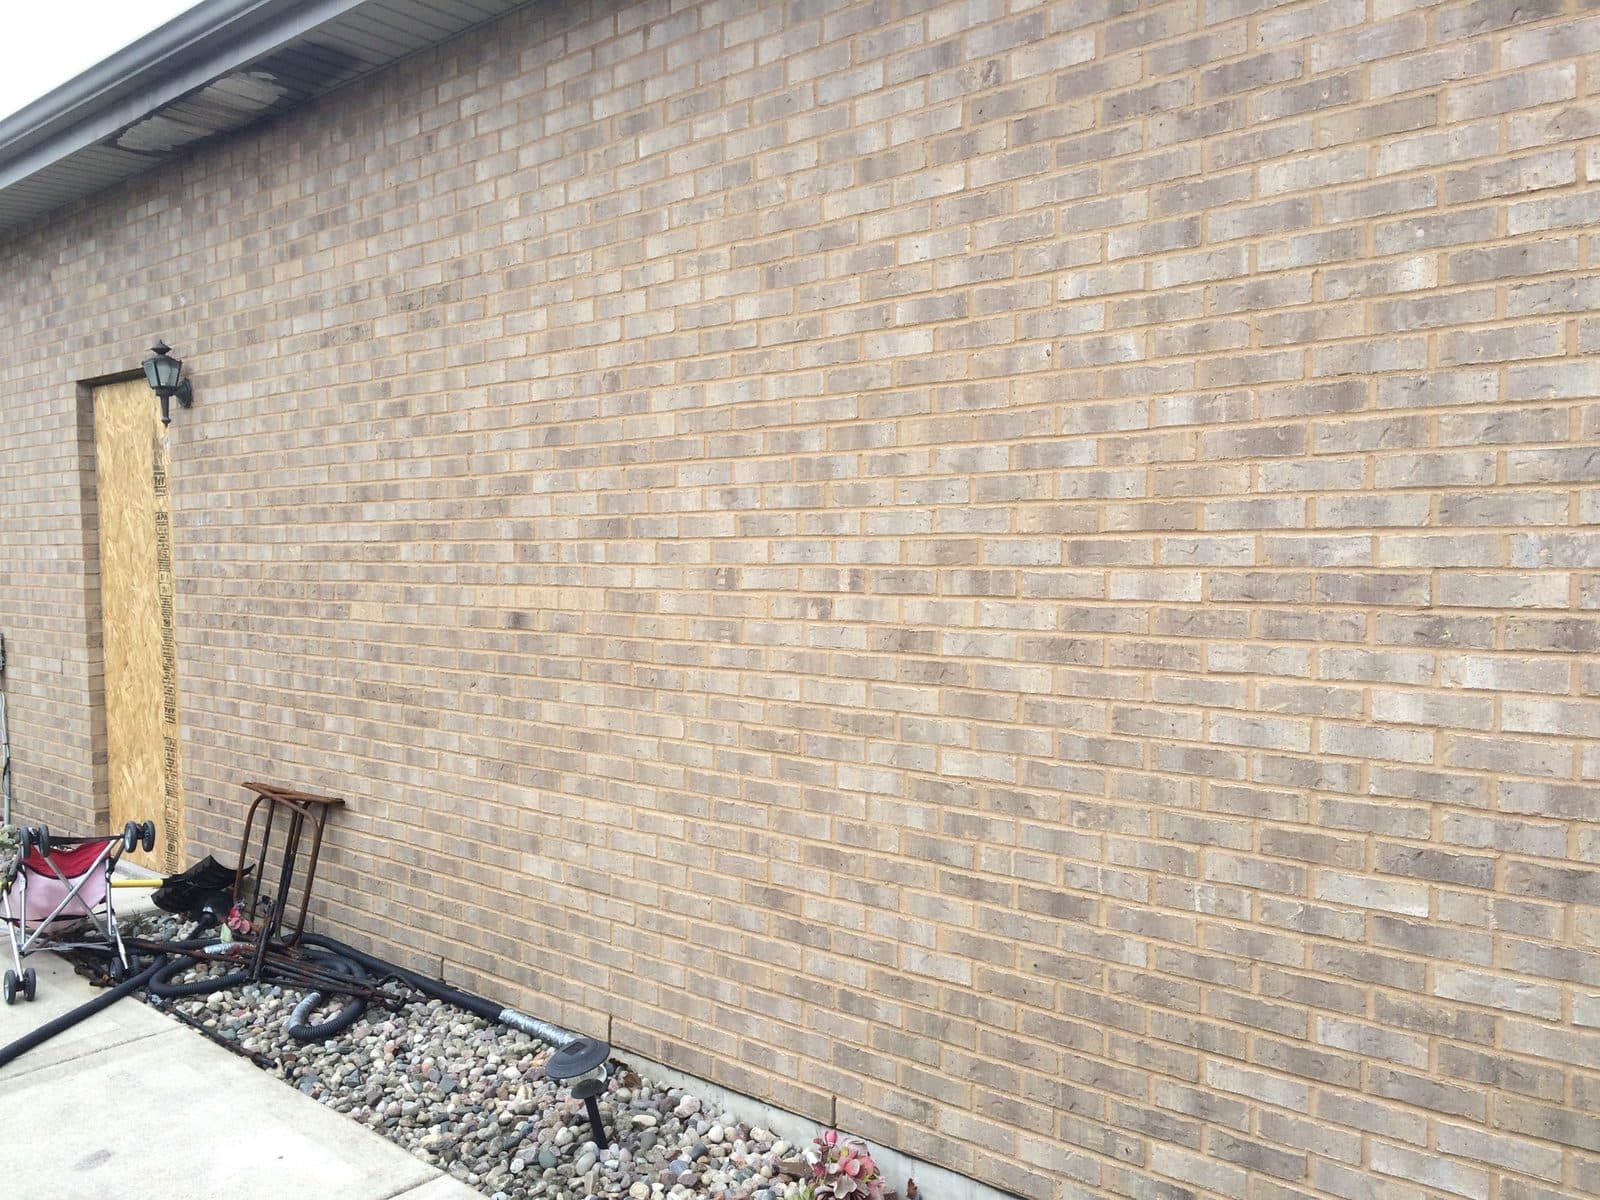
The short answer
Most Chicagoland houses do not need whole-house tuckpointing, and most do need more than the one wall you have been looking at.
Mortar does not fail evenly. It fails by exposure — by how wet a given piece of wall gets and how quickly it dries again. That means the damage on nearly every brick house in the region is concentrated in the same predictable places: the weather elevation, the chimney, the parapet, the courses closest to grade, and anywhere water is being delivered to the wall by something that is broken.
Paul Lally's Masonry Inc. has been scoping this work across Chicago and the Chicagoland suburbs since 1988, and the honest scope is almost always somewhere in the middle of the two numbers you have been quoted. This post is how to find it — and how to read a proposal against your own walls before you sign one.
Free on-site estimates: (708) 448-8866.
First, what tuckpointing actually is
Tuckpointing — used interchangeably with repointing by nearly everyone in the trade and by every homeowner in Chicago — is the removal of deteriorated mortar from the joints between masonry units and its replacement with fresh, matched mortar.
The important thing to understand is why the joints are the part that goes.
Mortar is deliberately the weakest component in a masonry wall. It is the sacrificial element. Brick is hard, brittle and expensive to replace; mortar is softer, and it is designed to absorb the movement, the thermal expansion, the minor settlement and the freeze-thaw stress that a wall experiences over decades, and to erode instead of letting the brick take the damage.
That is a feature, not a defect. Mortar wearing out is the system working. It is also why the golden rule of this trade is that mortar must always be softer than the units it holds — put a hard modern mix into a soft old wall and the stress goes through the face of the brick instead, and brick faces are not replaceable in the way a joint is.
So: mortar has a service life. In Chicagoland that is commonly somewhere in the range of several decades, but exposure moves it enormously, which is the entire subject of this post.
Why the damage is never evenly spread
Two identical walls on the same house, same brick, same mortar, same year — one is fine and one is failing. It happens constantly, and it is not random.
Wind-driven rain
Rain falling straight down barely wets a vertical wall. Wind-driven rain drives it into the face at pressure, and in Chicagoland the prevailing weather comes predominantly from the west and northwest, with storm systems tracking across the region. The elevation taking that weather absorbs far more water per year than the sheltered side of the same building.
Solar drying
The other half of the equation is how fast a wall dries. A south and west wall gets hours of direct sun that drives moisture back out. A north elevation, or a narrow gangway wall on a city lot, may get almost no direct sun at all. It stays saturated for days after a rain instead of hours, so every freeze-thaw cycle catches it wet.
That is why the north wall and the gangway wall are so often the worst on a Chicago bungalow, even though they take less rain than the west wall does.
Freeze-thaw
This is the engine of masonry deterioration in this climate. Water absorbed into mortar and brick expands as it freezes. Chicagoland runs through dozens of freeze-thaw cycles in a typical winter — not one long freeze, but repeated crossings of 32°F, each one expanding water inside the pore structure and working the material apart a fraction at a time.
Wet masonry plus repeated freeze-thaw is the whole story. Anywhere on your house that stays wetter, longer, is where the mortar is going first.
Water being delivered by something broken
And then there is the category that has nothing to do with weather: a gutter overflowing onto a wall all season, a downspout discharging at the foundation, a failed sill dumping water onto the courses below it, a rusting lintel, flashing that was never installed, grade built up above the base course, or a sprinkler head hitting the same brick every morning. These produce localized failure that looks dramatic and is often the cheapest thing on the estimate to fix — provided somebody identifies it.
The five zones that fail first
Walk your own house and look at these, in this order.
- The chimney. Exposed on four sides and the top, with no adjacent building mass sheltering it, and often taking the most weather of anything on the property. Chimneys weather on a much faster clock than walls. It is completely normal for a chimney to need full repointing while the house needs very little.
- The parapet or coping line. On a two-flat, a flat-roofed building or a commercial property, the parapet is weathered on both faces and the top. Along with the chimney it is the highest-priority masonry on the building, because it is also the element most likely to drop material.
- The weather elevation. Usually west or northwest facing. Look for joints that have receded behind the face of the brick.
- The shaded elevation. North wall, gangway wall, anything under heavy tree canopy. Look for green film, dark permanent damp, and soft joints.
- The bottom three courses. The splash line — rain bouncing off the ground back into the wall, plus snow piled against it, plus de-icing salt. On a great many houses this band is the worst masonry on the property and the owner has never looked at it.
Testing your own mortar in ten minutes
You do not need a contractor to tell you whether a joint has failed.
The key test. Take a house key or a flat screwdriver and push the tip firmly into a mortar joint, then drag it. Sound mortar resists — you will scratch it, but the tool does not sink in and material does not come away. Failed mortar crumbles, gives way under moderate pressure, or lets you rake out a channel of sand and dust.
Do that at ten or fifteen spots around the house: two or three per elevation, low and high, plus the chimney if you can reach it safely, plus right at the bottom courses.
The recession test. Sight along the wall from an angle. In sound masonry the mortar sits at or just behind the face of the brick. Joints that have receded a quarter inch or more behind the brick face, so the units read as individually raised, have lost enough section to matter.
The daylight test. On a chimney, look for any point where you can see light through a joint, or where a joint is open all the way through. That is not a maintenance item.
The floor test. In the basement, look at the floor along the base of the foundation wall. Sand and grit accumulating there is mortar leaving the wall.
Write down what you find, elevation by elevation. You now have your own scope, and you can hold any proposal up against it.
The three honest scopes
Spot repointing
When it is right: the failure is genuinely scattered. A dozen or two joints across an otherwise sound elevation, a small area under a leaking sill, a localized patch where a downspout was overflowing. The rest of the wall passes the key test comfortably.
What it should include: those joints cut out to full depth — not surface-skimmed — packed and tooled, plus correction of whatever localized water source caused them. Spot repointing under a gutter that still overflows is not a repair, it is a delay.
Where it goes wrong: a wall that is failing generally gets "spot" work only on the joints visible from the street. Two winters later the wall looks the way it did before and the homeowner concludes tuckpointing does not last.
One or two elevations
This is the most common honest answer on a Chicagoland house, and it is the one homeowners are least often offered.
When it is right: the exposure pattern above is doing exactly what it does. The west and north walls fail the key test broadly; the east and south walls pass. Or the chimney and the parapet are gone and the walls are fine.
What it should include: the failing elevations repointed in full, wall to wall, plus a mortar match tested on a sample area, plus the transition handled sensibly so the boundary between new and old work is not a hard visual line down the middle of a wall.
This is also the scope that phases best. Do the weather elevation and the chimney this year; the shaded elevation is on a slower clock and can follow.
Whole house
When it is right: the mortar has genuinely reached the end of its service life across the building — every elevation fails the key test, joints are recessed all around, the house has never been repointed and is old enough that it should have been. Or a previous repointing was done badly enough that it has to come out everywhere.
When it is oversold: when nobody walked all four elevations, when the estimate is a single square-footage number with no breakdown by wall, and when the south and east walls test as sound. If a proposal says "whole house" and cannot tell you what is wrong with the sheltered elevation specifically, ask.
Phasing on a real budget
If the full scope is more than this year allows, phase it — but phase it by risk, not by what bothers you visually.
| Priority | What belongs here | Why |
|---|---|---|
| 1 | Anything that could fall — loose parapet units, failing coping, spalled brick over an entry | Falling masonry is the only failure that stops being a repair |
| 2 | Active water entry — open chimney joints, failed sills, corroded lintels, gone flashing | Water inside a wall turns repointing into rebuilding |
| 3 | The water sources — gutters, downspouts, grade, sprinklers | Cheapest line on the estimate, biggest effect on everything else |
| 4 | The heaviest-exposure elevation | Deteriorating fastest; costs more every year it waits |
| 5 | Sheltered elevations, cosmetic areas | Real work, no urgency |
Notice that item 3 usually costs the least and protects the most. If a contractor's proposal never mentions where your water is coming from, that is the question to ask before you compare prices.
How the work should actually be done
Scope is half the battle. Execution is the other half, and this is what separates repointing that lasts thirty years from repointing that falls out in three.
- Cut out to depth. Failed mortar is removed to roughly two and a half times the joint width — for a standard three-eighths inch joint, close to an inch. Grinders for the bed joints where appropriate, hand tools at the head joints and anywhere the brick is soft.
- Do not skim. Troweling fresh mortar over failed material is the defining shortcut of bad tuckpointing. It has nothing to bond to and it comes off in sheets.
- Clean the joint. Dust and loose material brushed and blown out; a dusty joint prevents bond.
- Match the mortar. Type and strength matched to the wall — softer, lime-rich mixes for pre-1930s soft brick, Type N for most residential work of later eras, Type S where structural or highly exposed conditions genuinely call for it. Never harder than the unit.
- Match color and texture, tested on a sample area and viewed dry before the wall is done. Wet mortar is a different color than cured mortar.
- Pack in lifts. Deep joints filled in layers, each compacted, rather than one loose pass.
- Tool to the original profile. Concave, weathered, grapevine, struck — the profile is part of how the wall reads and part of how it sheds water.
- Cure it. Kept damp and shaded in summer heat so it does not flash-dry and fail; protected and heated in cold, or not done at all below reliable curing temperatures.
Chicagoland housing stock: what to expect on your type of house
Chicago brick bungalow. Common brick on the gangway and rear elevations, face brick on the front. The gangway wall is nearly always the worst — narrow, shaded, never dries. The front is usually last to need work.
Greystone. Limestone front with brick sides and rear. The stone front needs a soft, lime-rich mortar and gentle handling; the brick elevations may need an entirely different mix. Two scopes on one building.
Two-flat and three-flat. The parapet is the priority, every time. Rear porch and rear elevation second, front last.
Post-war ranch and split-level in the suburbs. Often the whole house tests sound except the chimney, the courses at grade, and the steel over the picture window. That is a small, targeted job that gets quoted as a whole-house job more often than it should.
1980s and later brick veneer. Frequently the joints are fine and the real issues are sealant joints, weep holes and flashing — a different job entirely, and one that whole-house repointing would not address.
Related services
- Tuckpointing and repointing — scope, mortar matching and joint profiles
- Chimney repair and rebuilds — the fastest-weathering masonry on your house
- Parapet wall repair — the highest-priority element on a flat-roofed building
- Brick repair — spalled units where the joints failed first
- Masonry sealing and waterproofing — after the joints are sound, never before
The bottom line
Ask any contractor looking at your house four questions:
- Which elevations are in this scope, and what did you find on the ones that are not?
- How deep are the joints being cut out?
- What mortar, and how are you matching it?
- Where is the water coming from?
A contractor who has actually walked your house can answer all four in a minute. That is a far better test of a proposal than the number at the bottom of it.
Paul Lally's Masonry Inc. is a family-owned, insured masonry contractor serving Chicago and the Chicagoland suburbs since 1988 — tuckpointing, brick repair and replacement, chimney repair and rebuilds, lintel replacement, masonry restoration, and waterproofing for residential and commercial properties. Built on Craftsmanship. Backed by Experience. We scope elevation by elevation, we tell you what does not need doing, and our name is on every job.
Free on-site estimates — call (708) 448-8866 or request one online.
Frequently Asked Questions
How much of my house needs tuckpointing?
Almost never all of it at once. Mortar fails by exposure, so the weather elevations, the chimney, the parapet and the courses near grade go first while sheltered walls stay sound for years longer. A good estimate is written elevation by elevation so you can see exactly where the failure is.
Is spot tuckpointing a real repair or a shortcut?
It is a real repair when the failure is genuinely scattered — a handful of joints in an otherwise sound wall, cut out to proper depth and packed full. It becomes a shortcut when a wall is failing generally and someone points only the joints you can see from the sidewalk.
How do I test my own mortar?
Push the tip of a screwdriver or a house key firmly into a joint. Sound mortar resists and you will not mark it much. Failing mortar crumbles, gives way, or lets the tool sink in — and if you can rake material out easily, that joint is done.
How deep should mortar be cut out before repointing?
Roughly two and a half times the width of the joint, so a standard three-eighths inch joint is cut close to an inch deep. Shallower than that and the new mortar has nothing to grip; it becomes a skim coat that falls out within a few seasons.
Why does one wall of my house look so much worse than the others?
Exposure. The elevation taking prevailing wind-driven rain gets wet hardest, and a shaded north or gangway wall dries slowest, so both deteriorate faster than a sunny sheltered wall on the same house with the same brick and the same mortar.
Can I tuckpoint part of the house now and the rest later?
Yes, and it is often the right call. Phase by risk rather than appearance: anything letting water in first, then the heaviest-exposure elevation, then the rest. What you should not do is skip the water source and point the joints in front of it.
Will new mortar match the old?
A good match is achievable on color, texture and joint profile, and it should be tested on a small area before the wall is done. It will look newer at first and blend as it weathers. An exact match to century-old mortar is not realistic, and any contractor promising invisible is overselling.
How long does tuckpointing last?
Properly cut out, properly packed and properly matched, repointing on a Chicagoland home commonly performs for several decades. Skim-coated work over failed material often starts falling out within two to five winters.
Does the whole chimney need doing if the house does not?
Frequently, yes. A chimney is exposed on four sides and the top, with no adjacent building mass to shelter it, so it weathers on a much faster clock than the walls below it. It is completely normal for a chimney to need full repointing while the house needs almost none.
Should I get more than one estimate?
Yes — but compare the scopes, not the totals. Ask each contractor which elevations are included, how deep the joints are being cut, what the mortar is, and what they think the water source is. Two very different numbers usually mean two very different jobs.