
Tuckpointing · Chicagoland, IL
Mortar Joint Profiles Explained: Concave, Weathered, Raked, Grapevine — and Why the Finish Decides How Long Your Wall Lasts
The shape a mason tools into a mortar joint isn't decoration. It compacts the mortar, closes the surface, and decides whether the joint sheds water or holds it — which is why matching the profile is one of the biggest tells of good tuckpointing.
2026-08-22
Quick Answer
A mortar joint profile is the shape a mason tools into the finished joint — concave, V, weathered, flush, raked, beaded, or grapevine. Tooling compacts the mortar and closes its surface, so the profile directly controls how well a joint sheds water: concave and V joints perform best in freeze-thaw climates, while raked and extruded joints hold water and fail soonest. Matching the existing profile is essential to good tuckpointing. Paul Lally's Masonry has tooled Chicagoland joints since 1988 — (708) 448-8866.
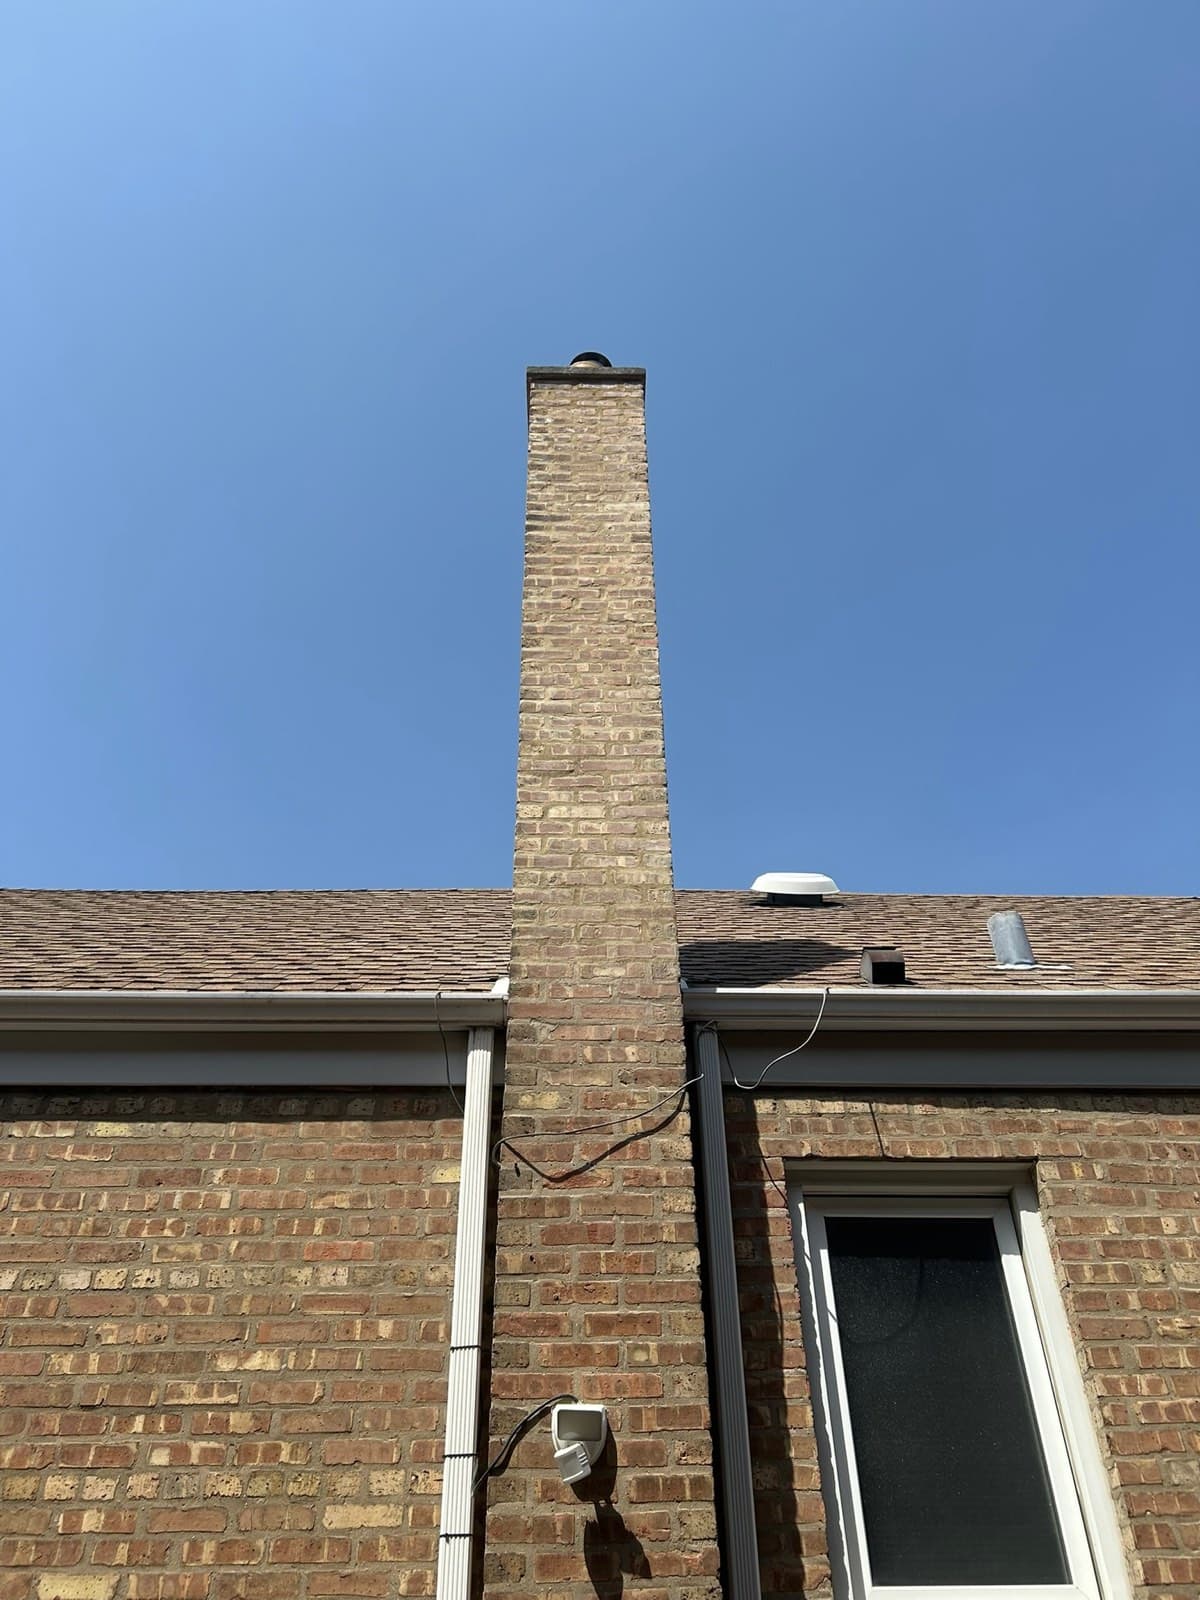
Two Chicago tuckpointing jobs can use the exact same mortar — same sand, same color, same mix — and one of them looks like it belongs on the house while the other looks like a stripe painted across it. The usual difference is not the mortar. It is the shape the mason tooled into the joint.
Joint profile is one of those details homeowners have never had a reason to think about, right up until they are looking at fresh repointing that stands out from across the street. And it is not only cosmetic: the profile controls whether a joint sheds water or holds it, and in a climate that freezes and thaws dozens of times a winter, that is the difference between joints lasting decades and joints failing early.
Paul Lally's Masonry has been tooling Chicagoland mortar joints since 1988. Here is what the profiles are, which ones perform, and why matching yours matters more than most people realize. Free on-site estimates — (708) 448-8866.
What "tooling" a joint actually does
When mortar is placed in a joint it starts out soft and porous. At a specific point in its set — masons call it thumbprint hard, firm enough to take an impression but still workable — the mason runs a jointing tool along the joint under pressure.
Two things happen:
- Compaction. The mortar at the joint surface is pressed tight, driving out voids and densifying the outer layer.
- Surface closure. The tool burnishes the surface pores shut, which sharply reduces how much water the joint absorbs.
That compacted skin is the joint's weather layer. A joint that was struck flush and left untooled has an open, porous face, and it drinks water. The same mortar, tooled properly, resists it. This is why tooling is a real construction step and not a finishing flourish — and why joints that were never tooled tend to be the first ones eroding on a wall.
The shape the tool leaves then decides what happens to water that reaches the joint: run off, or sit there.
The profiles, and how they perform
| Profile | What it looks like | Water performance | Where you see it in Chicagoland |
|---|---|---|---|
| Concave | Curved inward, tooled with a round jointer | Best — compacted, no ledge, sheds cleanly | The most common profile on Chicago-area brick, from bungalows to modern veneer |
| V-joint | Tooled to a V with a bladed jointer | Excellent — compacted, sharp shadow line | Common on midcentury and later work; crisp, formal look |
| Weathered (struck) | Angled so the top is recessed and the bottom flush | Good — deliberately slopes water outward | Traditional; found on older brickwork and stone |
| Flush | Cut level with the brick face | Fair — no ledge, but little compaction | Common on rough or reclaimed brick and utility walls |
| Grapevine | Flush with a narrow groove pressed down the center | Fair — decorative, minor water catch | Older and colonial-revival brickwork |
| Beaded | Raised half-round bead | Fair to poor — creates a ledge | Ornamental work, rare residentially |
| Raked | Deliberately recessed, leaving a square ledge | Poor — holds water, snow, and ice | Midcentury and modern architectural brick |
| Extruded / weeping | Mortar squeezed out, untooled | Worst — uncompacted and ledged | Rustic and cottage styles |
Concave: the workhorse
If you are looking at a Chicago brick house and you are not sure what profile it has, the odds favor concave. It is tooled with a round jointer, it compresses the mortar hard against both brick faces, and its curve leaves nowhere for water to sit. In a freeze-thaw climate it is genuinely difficult to beat, which is why it became the regional default.
V-joints: sharp, and nearly as good
A V-joint gets the same compaction benefit with a crisper shadow line, and sheds water just as well. It reads more formal and more modern than concave. On the right building it looks excellent; on a 1920s bungalow it can look slightly too sharp.
Weathered joints: the traditional water-shedder
The weathered or struck joint is angled so the upper edge is set back and the lower edge is flush with the brick below — literally a small built-in slope directing water out of the wall. It is an old, sensible profile and it holds up well. It takes more skill to run consistently over a large elevation, which is part of why it is less common on new work.
Raked joints: the one that costs you
A raked joint is recessed square into the wall, leaving a deep shadow line that architects have loved since the 1950s. It looks great and it performs badly.
Every raked joint is a small horizontal shelf, repeated across the entire wall. Rain sits on it. Snow packs into it. Meltwater refreezes in it. In Chicagoland's freeze-thaw cycling, that is a wall constantly working water into its joints — and raked walls, in our experience, come up for repointing noticeably sooner than concave ones on the same street.
If your house has raked joints, it is worth knowing: this is not a defect, but it is a maintenance obligation. Those joints need to be watched more closely, and they benefit more than most from having the rest of the water management on the house done right.
Extruded and weeping joints: rustic, and not for this climate
Extruded joints are mortar squeezed out of the joint and left where it lands — uncompacted, unshaped, and hanging over the brick as an overhang that catches everything. On a sheltered garden wall in a mild climate, fine. On an exposed Chicagoland elevation, it is a slow-motion water problem.
Why matching the profile matters in tuckpointing
Good tuckpointing and repointing is invisible work. Four things have to line up for that:
- Mortar color — matched to the aged existing joint, not to what it looked like when new
- Sand and texture — grain size and color, which is what your eye actually reads up close
- Hardness — matched to the brick, never harder than the units (this is the one that has structural consequences)
- Profile — the tooled shape
Miss the fourth and the repair announces itself no matter how well you did the first three, because profile is what creates the shadow line across the wall. Your eye picks up an inconsistent shadow pattern from thirty feet away without knowing why. Concave repointing dropped into a raked wall reads as a bright stripe; flush joints run into a concave wall read as a flat patch.
How we identify your profile: we look where weather has not reached — under soffits and overhangs, on the protected elevation, behind downspouts, in a sheltered corner. Weathered joints erode over decades toward looking flat or slightly recessed regardless of what they started as, so the original shape survives longest in the sheltered spots. Then we match it.
The full repointing sequence, and where tooling fits
- Cut out the failed mortar to sound depth — typically about two to two and a half times the joint width — by grinding or raking, without damaging the brick edges.
- Clean and dampen the joint so the brick does not pull the water out of the fresh mortar before it can cure.
- Pack the joint in layers. Deep joints are filled in lifts, each one compacted, rather than jammed full in one pass that leaves voids behind.
- Wait for thumbprint hard. This is a judgment call that changes with temperature, humidity, sun, and wind — the same wall can be ready at different times on different elevations.
- Tool the joint to the matched profile, under pressure, working the tool consistently along the whole run.
- Brush and clean down once the joint has set enough not to smear.
Step 4 is where the craft lives. Tool too early and you smear wet mortar across the brick face and leave a weak, under-compacted joint. Tool too late and the tool tears and burnishes the surface instead of compacting it, which looks fine on day one and erodes fast. On a hot, windy Chicago afternoon, one elevation can go from too wet to too dry in the time it takes to work down the scaffold.
Chicagoland context: profiles by era and building type
- Pre-1930s common brick — bungalows, two-flats, workers' cottages. Soft brick, lime-rich mortar, mostly concave or weathered joints. These walls need soft mortar as well as matched profile; a hard modern mix on soft common brick pushes stress into the brick faces and spalls them.
- Greystones and limestone-fronted homes. Stone joints and brick side walls often differ, sometimes with a finer, tighter joint on the front elevation. Both need matching, and the stone needs a compatible, softer mortar.
- Postwar ranches and Cape Cods — Oak Lawn, Evergreen Park, Burbank, Palos. Concave dominates; harder brick, so more mortar-mix latitude than the older stock.
- Midcentury and modern architectural brick. This is where raked joints turn up, and where we most often find joints failing ahead of the brick.
- Newer veneer subdivisions — Orland Park, Frankfort, Naperville, Homer Glen. Concave or V, machine-consistent, generally sound — but the details around them (sealant joints, weeps, flashing) are usually what fails first.
Signs your joints are failing regardless of profile
- Mortar you can scratch out with a key or that comes away sandy in your hand
- Joints receded noticeably behind the brick face
- Cracks running through joints or between joint and brick
- Missing sections of mortar, especially on south and west elevations
- Efflorescence — white powdery salts — indicating water moving through the wall
- Spalling brick faces, which often means water has been getting past the joints for a while
- Damp interior walls or musty smells on an exterior wall
What drives the cost of repointing
Profile matching does not add much cost by itself — but the surrounding conditions do:
- Square footage of wall and percentage of joints that have actually failed
- Height and access — a grade-level wall versus a chimney or a three-story elevation needing staging
- Cut-out difficulty — hard existing mortar, tight joints, or soft brick that requires hand-raking rather than grinding
- Match difficulty for color, sand, and profile, especially on historic work
- Brick repairs needed alongside the joints
- Season and curing conditions
We do not publish a rate, because scope decides it. The on-site estimate is free — (708) 448-8866.
DIY vs. hiring a mason
Homeowners can and do point small areas successfully. What goes wrong most often is not the mixing — it is:
- Cutting out too shallow, so the new mortar is a thin cosmetic skin that pops out in a season or two
- Damaging brick edges with a grinder, which permanently changes how the wall looks
- Using a mortar too hard for the brick, which spalls soft older brick within a few winters
- Mistiming the tooling, giving weak, smeared, or torn joints
- Not matching the profile, so the patch is visible forever
- Working in the wrong conditions — too cold, too hot, direct sun, wind — all of which wreck the cure
None of it is mystical. It just takes having done it enough times to read the mortar.
Maintenance
- Walk the exterior once a year and look at south and west elevations first — they take the driving rain
- Scratch-test suspicious joints with a key; sandy is a repointing signal
- Keep gutters and downspouts clear and discharging well away from the walls
- Keep soil, mulch, and plantings off the base courses
- Check chimney joints specifically — the most exposed masonry on the house
- If you have raked joints, inspect more often than your neighbors with concave ones
Related services
- Tuckpointing and repointing — cut out, repack, and tool joints back to matched profile
- Brick repair — for spalled and cracked faces where water has already done damage
- Chimney repair and rebuilds — the most weather-exposed joints on the building
- Masonry restoration — historic work where lime mortar and traditional profiles matter most
- Masonry waterproofing — a breathable repellent after joints are sound and cured
The short version
The profile is not trim. Tooling compacts and closes the joint, and the shape decides whether water runs off or sits on the wall. Concave and V joints perform best in Chicagoland's freeze-thaw climate; raked and extruded joints hold water and pay for it. And when repointing goes back into an existing wall, matching the profile — along with color, sand, and hardness — is what makes the repair disappear.
Paul Lally's Masonry Inc. is a family-owned, insured masonry contractor serving Chicago and the Chicagoland suburbs since 1988 — tuckpointing, brick repair and replacement, chimney repair and rebuilds, lintel replacement, masonry restoration, and waterproofing for residential and commercial properties. Built on Craftsmanship. Backed by Experience. Free on-site estimates — call (708) 448-8866.
If your joints are receding, cracking, or crumbling — or a previous repointing job stands out on your wall — we will look at it and tell you plainly what it needs. Request a free on-site estimate or call (708) 448-8866.
Frequently Asked Questions
What is a mortar joint profile?
It is the finished shape of the mortar between your bricks — concave, V-shaped, flat, angled, recessed, or rounded. A mason creates it by pressing a jointing tool along the joint while the mortar is still workable, and the shape affects both appearance and water performance.
Which mortar joint sheds water best?
Concave and V joints. Both are tooled by compressing mortar against the brick, which densifies the surface and leaves a shape water runs off rather than sits on. In a freeze-thaw climate like Chicago's, they are the safest choice on exposed exterior walls.
Why are raked joints a problem in Chicago?
A raked joint is deliberately recessed, leaving a small horizontal ledge at every course that holds rain, snowmelt, and ice. In a climate with dozens of freeze-thaw cycles a winter, that standing water works into the joint repeatedly and raked walls generally need repointing years before concave ones do.
Does tooling actually make mortar stronger?
It makes the joint surface far more durable. Pressing the tool along the joint at the right moment compacts the mortar and closes the surface pores, which reduces water absorption substantially compared with a joint that was simply cut flush and left alone.
How do I find out what profile my house has?
Look at a sheltered wall where the joints are least weathered — under an overhang, on a protected elevation, or behind a downspout. Weathered joints erode toward looking flat or recessed, so the original shape survives longest where the weather has not reached.
What is a grapevine joint?
It is a flush joint with a narrow groove pressed down its center, a decorative finish common on older and colonial-revival brickwork. It shows up on some of Chicagoland's older housing stock, and reproducing it takes a specific tool and a mason who knows to look for it.
Does the joint profile have to match when repointing?
Yes, if you want the work to disappear. Mortar color, sand, texture, and profile together are what make repointing invisible, and a wrong profile stands out from the sidewalk even when the color is a perfect match.
Can you change the joint profile during tuckpointing?
Technically yes, and occasionally it makes sense — moving away from raked joints on a badly exposed elevation, for example. But it changes how the wall reads, so it should be a deliberate decision made with you, not a default.
What is an extruded or weeping joint?
It is mortar squeezed out of the joint and left untooled, so it hangs over the brick face. It is a rustic look, it is uncompacted, and it creates ledges that hold water — which is why it is a poor choice for exposed exterior masonry in this climate.
When should the joint be tooled during the work?
When the mortar is thumbprint hard — firm enough to hold the shape but still workable. Tooling too early smears wet mortar onto the brick face and leaves a weak joint; too late and the tool tears the surface and burnishes it instead of compacting it.