
Tuckpointing · Chicagoland, IL
What Is Tuckpointing? A Chicago Homeowner's Complete Guide
The single most common masonry repair in Chicagoland, explained from scratch — what it is, why brick walls need it, how to tell when yours does, what a proper job looks like, and how to spot one that was faked.
2026-08-03
Quick Answer
Tuckpointing is the repair of failed mortar joints in a brick wall — the old mortar is ground out to roughly two to two and a half times the joint width, and fresh mortar matched in hardness, color, and profile is packed in and tooled. It is needed because mortar is the sacrificial element in masonry and wears out long before the brick. Paul Lally's Masonry has tuckpointed Chicagoland brick since 1988 — (708) 448-8866.
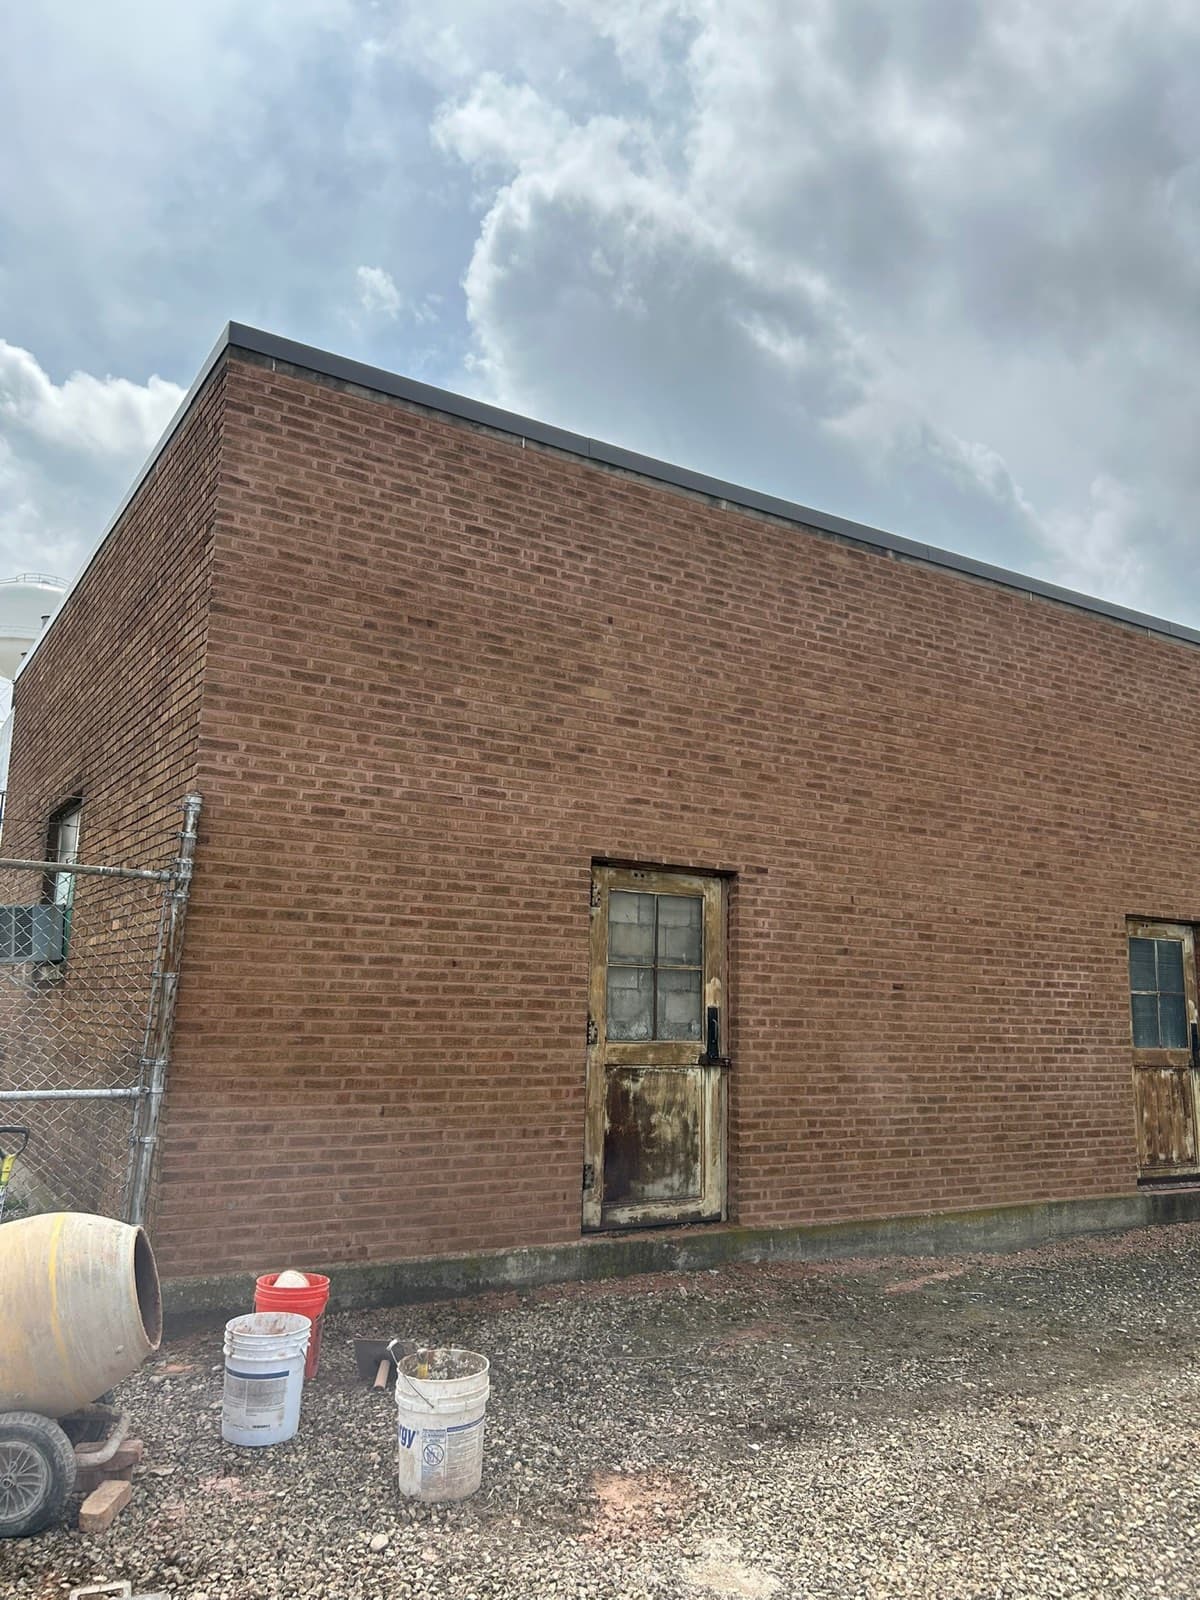
If you own a brick building in Chicagoland, tuckpointing is the maintenance you'll pay for more often than any other. It's also the one most homeowners have never had explained — which is exactly why it's so easy to sell badly.
Tuckpointing is the replacement of failed mortar joints in a masonry wall. The old, deteriorated mortar is ground out to a proper depth, and fresh mortar — matched in hardness, color, sand, and profile — is packed in and tooled. The brick stays. Only the joints are renewed.
Paul Lally's Masonry has been doing it across Chicago and the suburbs since 1988. Here's the whole thing, from scratch.
Why mortar wears out and brick doesn't
This is the piece that makes everything else make sense.
Mortar is not glue. It is the deliberately weakest, softest component of a masonry wall, and that is by design. A brick wall has to move — it expands and contracts with temperature, takes up moisture and releases it, and settles slightly over decades. All that movement has to be absorbed somewhere.
The joint is where it gets absorbed. Mortar is the sacrificial element: soft enough to yield, cheap enough to replace, and positioned so that renewing it is straightforward. The brick — the expensive, hard-to-match part — is protected by the joint giving way first.
So mortar wearing out isn't a failure. It's the system working. A wall built in 1915 has already had that mortar absorbing a hundred and ten years of Chicago freeze-thaw, and it's simply reached the end of its service.
The corollary matters enormously: mortar must always be softer than the brick beside it. Pack a modern, high-strength, Portland-rich mix against soft Chicago common brick and you invert the design — the joint no longer yields, so the brick face becomes the sacrificial element instead and spalls along every mortar line. That damage is permanent. It's the single most destructive mistake in this trade, and it gets made constantly by people who assume stronger is better.
Tuckpointing vs. repointing: the words
Strictly, they're different things.
Repointing is the correct technical term for renewing mortar joints — removing deteriorated mortar and replacing it.
Tuckpointing historically described a decorative technique: filling joints with mortar coloured to match the brick, then "tucking" a thin line of contrasting lime putty into it to imitate the very fine joints of expensive gauged brickwork.
In practice, in Chicagoland, the two words are used interchangeably to mean renewing mortar joints. Every local mason will understand "tuckpointing" that way, and there's no point being precious about it. Our post on tuckpointing vs. repointing covers the distinction in more depth.
How to tell if your brick needs tuckpointing
The key test
The most useful thing you can do in thirty seconds: take a key or a screwdriver and run it along a mortar joint.
- It skids across a hard surface? The joint is sound.
- It digs in, and mortar crumbles out as sand? The joint has failed.
Do it in several places — north and west elevations, near grade, around the chimney, and up high if you can reach safely. Failure is rarely uniform.
The visual signs
- Receding joints — the mortar has worn back behind the face of the brick, leaving the brick edges proud
- Visible gaps, holes, or missing sections of mortar
- Sandy, crumbly texture — mortar that powders when you touch it
- Mortar debris on the ground at the base of the wall, or in the gutters
- Hairline or open cracks running through joints
- Efflorescence — white chalky salt deposits on the brick, proof water is moving through the wall
- Damp or musty interior walls on an exterior-facing room
- Spalling brick — this means the problem is already past the joints
- Loose bricks you can rock by hand
Where to look first
Failure concentrates predictably in Chicagoland: north and west elevations taking the weather, the bottom three courses where snowpack and splashback sit, around and under sills, at chimney shoulders above the roofline, and on the parapet of any flat-roofed building.
What happens if you don't
The joint is the wall's weather barrier — on solid masonry, it's the only one. A failed joint is an open channel into the wall.
- Water enters through the joint.
- It saturates the brick and the wall's interior.
- Winter arrives. That water freezes and expands roughly nine percent.
- With nowhere to go, it pushes the hard fired face off the brick. That's spalling — permanent.
- Water reaches steel lintels and ties and starts them corroding.
- Interior finishes stain; damp and musty smells follow.
Repointing is cheap. Brick replacement is not, and rebuilding a wall is far worse. Tuckpointing at the right moment is one of the highest-return maintenance items on a masonry building — and the right moment is when joints have begun receding, not when brick is falling off.
How a proper tuckpointing job is actually done
- Assess the brick first. Its age, hardness, and porosity determine which mortar is correct. On pre-1930s masonry this decision comes before anything else.
- Set up and protect — staging or ladders, and coverings for windows, walks, landscaping, and hardscape.
- Grind out the failed joints to roughly two to two and a half times the joint width, back to sound mortar. This is the slow part and the part that matters most.
- Clean the joints — blown and brushed free of dust, so new mortar bonds to masonry rather than to powder.
- Mix mortar to the matched formula — type, color, and sand chosen to suit the brick.
- Dampen the joints where the substrate calls for it, so the brick doesn't pull water out of the fresh mortar too fast.
- Pack the mortar in layers, not one deep pass. A single thick fill doesn't compact properly and shrinks as it cures.
- Tool the joints when the mortar reaches the right stiffness — "thumbprint hard" — to the profile the wall already has: concave, weathered, raked, struck, or grapevine. Timing here is judged in minutes.
- Clean the brick down and remove debris.
- Cure and protect — fresh mortar needs shielding from freezing, driving rain, and baking sun for the first few days.
Why the grinding depth is non-negotiable
New mortar needs enough surface area inside the joint to key in and bond. Skim a quarter inch of fresh mortar over soft old mortar and you've made a cosmetic film with nothing gripping it — it will crumble out within a few Chicago winters, and the original failing joint will have been admitting water the whole time.
Mortar types, in plain language
| Type | Relative strength | Where it belongs |
|---|---|---|
| Lime / low-Portland | Softest | Pre-1930s soft brick, greystones, historic masonry |
| Type O | Soft | Older, softer masonry; interior and low-load |
| Type N | Medium | The workhorse for most residential above-grade work |
| Type S | High | Below grade, high-exposure, structural conditions |
| Type M | Highest | Heavy structural and below-grade — rarely residential |
The rule is not "use the strongest." It's "use the one softer than your brick." A Chicago bungalow gets a soft, lime-rich mix. A 1990s veneer wall gets Type N. Type S appears on foundations and genuine high-exposure conditions — and almost never on a century-old wall.
Color and sand matter too. A properly matched joint uses sand of the right grain and color, so the cured mortar blends rather than announcing itself as a grey stripe. See mortar matching for tuckpointing.
What drives the cost
- Joint footage — how many elevations, and how much of each
- Height and access — a ranch off ladders versus a three-story needing staging
- How deeply eroded the joints are — more grinding, more mortar
- Brick condition — spalled units replaced as you go is a second rhythm inside the job
- Brick softness and age — historic work is deliberately slower and sometimes hand-raked
- Mortar matching difficulty, including test batches that cure before the wall is committed
- What's found once joints are open
Nobody credible quotes tuckpointing over the phone or from a photo. Paul Lally's Masonry gives a free on-site estimate in writing. Our post on tuckpointing cost factors in Chicago goes deeper on what moves the number.
DIY vs. hiring a mason
A careful DIYer can repoint a small, isolated, ground-level area. What goes wrong at scale is specific:
- Grinding depth and brick damage. Getting to proper depth without chipping brick arrises takes practice, and a chipped arris never comes back.
- Mortar hardness. The bagged mix at the hardware store is frequently far harder than a century-old Chicago brick wants. This is the mistake that causes permanent damage.
- Tooling timing. Judged in minutes; too early smears, too late won't compact.
- Silica dust. Grinding masonry produces respirable crystalline silica. Crews wear respirators, use dust shrouds and wet methods, and take it seriously — it's a genuine health matter, not fussiness.
- Height. Most failure is on upper elevations and chimneys.
Why Chicagoland brick needs this more than most
Three things compound here.
Freeze-thaw cycling. Repeated hard cycles — sometimes several in a single week — driving water into masonry and expanding it about nine percent each time.
The age and softness of the housing stock. The bungalow belt, greystones, two-flats, three-flats, and brick storefronts were built roughly 1890–1930 from soft, locally-fired common brick in lime-based mortar. Durable when treated correctly; easily ruined by hard mortar.
Wind-driven rain and lake-influenced moisture pushing water at walls horizontally, finding every joint that isn't sound.
The suburbs add their own profile: brick and brick veneer from the 1950s onward, now thirty to seventy years in, with original mortar reaching the end of its service life right about now.
How to spot a bad tuckpointing job
- Mortar riding up onto the brick faces rather than sitting recessed in the joint
- Joints that look "painted on" — flat, uniform, and shallow
- A joint profile that doesn't match untouched sections of the same wall
- A grey stripe effect where the new mortar color is obviously wrong
- A job that finished implausibly fast — a two-story house repointed in a day and a half means the grinding was skipped
- New mortar crumbling out within a couple of years
- Brick spalling at the joint edges after a repointing — the sign that mortar harder than the brick was used
Our post on why masonry repairs fail covers each of these and how to avoid them, and how to hire a masonry contractor in Chicago covers the questions to ask before you sign.
Maintenance after the work
- Keep gutters clear and downspouts discharging well away from the foundation
- Maintain grade sloping away; don't let soil or mulch build against the brick
- Don't pile snow against foundation walls
- Check the chimney crown and cap, and coping on flat roofs — the top of the wall is where water gets in
- Walk the wall each spring, after freeze-thaw season
- Wait before sealing — new mortar needs weeks to cure fully, and only breathable penetrating sealers belong on Chicagoland brick
See the masonry maintenance checklist for Chicago for a full cadence, and how long tuckpointing takes for realistic project timelines.
Related services
Tuckpointing and repointing is the core service, and it commonly travels with brick repair, brick replacement, lintel repair and replacement, chimney repair and rebuilds, parapet wall repair, limestone and sill repair, caulking and joint sealant, masonry waterproofing, and for whole-house scopes residential masonry restoration or historic masonry restoration.
The bottom line
Tuckpointing renews the mortar joints that are designed to wear out so your brick doesn't have to. It's normal, expected maintenance on any masonry building in this climate — not a sign something went wrong.
Two things separate a job that lasts decades from one that fails in two years: cutting the joints to proper depth, and using mortar softer than the brick. Neither is visible once the work is cleaned down, which is why the cheapest bid on the street is so often the most expensive thing you can buy.
Paul Lally's Masonry Inc. is a family-owned, insured masonry contractor serving Chicago and the Chicagoland suburbs since 1988 — tuckpointing, brick repair and replacement, chimney repair and rebuilds, lintel replacement, masonry restoration, and waterproofing for residential and commercial properties. Built on Craftsmanship. Backed by Experience.
We'll do the key test with you, tell you which joints have actually failed, and explain which mortar your wall wants and why. Our family name is on every job.
Free on-site estimates — call (708) 448-8866 or request an estimate online.
Frequently Asked Questions
What is tuckpointing in simple terms?
Tuckpointing is replacing the mortar between bricks. The old, failed mortar is ground out to a proper depth and fresh mortar is packed in and tooled to match the wall. The brick stays; only the joints are renewed.
What's the difference between tuckpointing and repointing?
Strictly speaking, repointing is renewing mortar joints, while tuckpointing historically meant a decorative technique using two mortar colors to imitate fine joints. In everyday Chicagoland use the two words mean the same job, and any local mason will understand tuckpointing to mean renewing your mortar joints.
How do I know if my brick needs tuckpointing?
Try the key test — run a key or screwdriver along a mortar joint. If it digs in easily and mortar crumbles out as sand, the joints have failed. Visible gaps, joints that have receded behind the brick face, mortar falling out on its own, and white efflorescence on the brick are the other reliable signs.
How deep does the old mortar have to be cut out?
Roughly two to two and a half times the width of the joint, cut back until sound mortar is reached — usually somewhere around three quarters of an inch on a standard residential joint. That depth gives the new mortar enough surface to key into. Anything shallower has nothing to bond to and crumbles out within a few seasons.
Why does mortar wear out before the brick?
Because it's designed to. Mortar is the sacrificial element in a masonry wall — it's deliberately softer than the brick so it absorbs thermal movement, moisture cycling, and minor settlement instead of the brick doing so. It's meant to be replaced periodically, which is far cheaper than replacing brick.
How long does tuckpointing last?
A proper repoint on sound brick — joints cut to depth, mortar matched in hardness, packed in layers and tooled correctly — commonly lasts decades in Chicagoland conditions. Work that fails within a few years didn't lose to the weather; a step was skipped, and it's almost always the joint depth.
Can I tuckpoint my own house?
You can attempt it, and small isolated areas are within reach of a careful DIYer, but the two decisions that determine whether it lasts are ones most homeowners get wrong — cutting to proper depth without chipping brick, and matching mortar hardness to the brick. On soft pre-1930s Chicago brick a hard bagged mix will permanently damage the wall.
How much does tuckpointing cost in Chicago?
There's no square-foot rate that means anything. Cost is driven by joint footage, height and access, staging requirements, how deeply eroded the joints are, mortar matching difficulty, and how much brick replacement rides along. Paul Lally's Masonry gives free on-site estimates in writing — call (708) 448-8866.
What time of year should tuckpointing be done?
Late spring through early fall is ideal. Mortar is a chemical reaction that needs moderate temperatures and moisture to cure properly, and water in curing mortar that freezes disrupts the cure permanently. A reputable mason will reschedule rather than install mortar into a hard freeze.
How can I tell if my tuckpointing was done properly?
Look at the joint depth and the tooling. Properly cut joints leave the new mortar sitting deep in the joint with a profile matching the rest of the wall. If mortar rides up onto the brick faces, the joints look painted on rather than recessed, or the profile doesn't match neighboring untouched sections, the job was likely skimmed.